Your Cart (0)

How Much Track Do You Need for Your Model Railroad Layout?

Building a model railroad layout can be fun, but how do you get the right amount of track? Here’s how much track you need for your model railroad layout.
by Theodore Hust • August 21, 2025
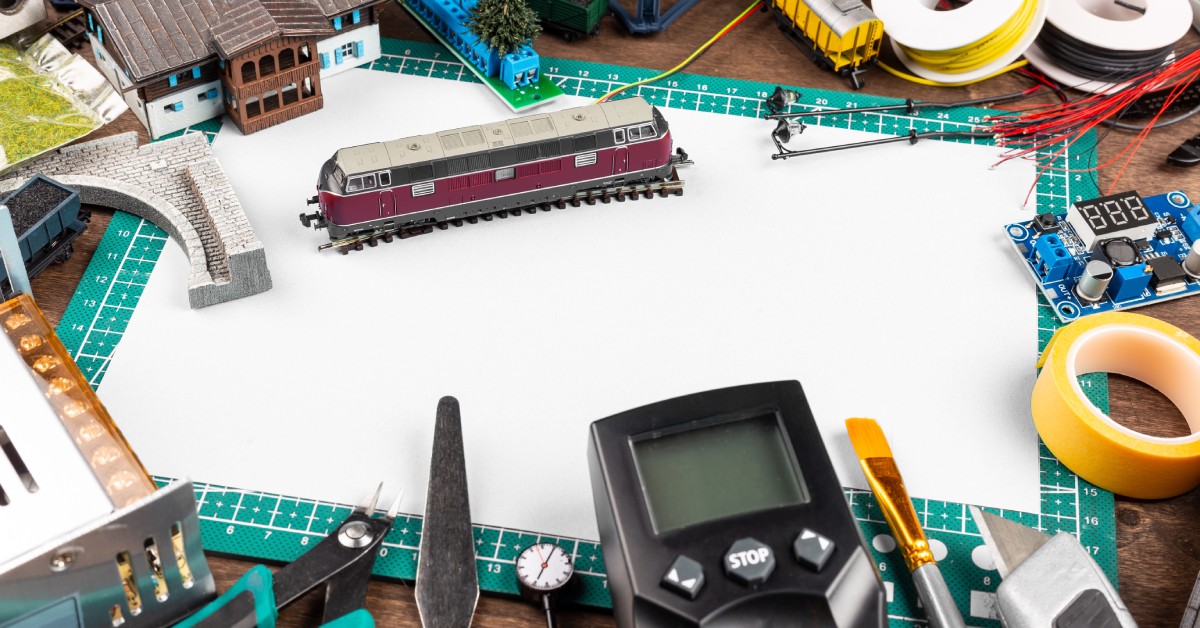
Model railroading is an exciting and rewarding hobby that comes to life through thoughtful planning and creativity. One of the most critical aspects of building your layout is determining how much track you need. Whether you're creating a small, simple circuit or an intricate design, planning your track layout carefully ensures the smooth operation and visual appeal of your model railroad. When you know how much track you need for your model railroad layout, you can bring your dream model train setup to life!
Understand Your Available Space
Start by accurately measuring the area where you will place your model railroad. This place could be:
- A tabletop
- A shelf
- Around a Christmas tree
- An entire room
Knowing the exact dimensions of your space is the foundation for planning your layout. Consider any obstacles like furniture, walls, or outlets that may influence where your track can go. Also, think about accessibility. Will you need to walk around the layout, or will it sit snug against a wall? Understanding your space upfront will save you from having to redo plans later.
Decide on the Track Configuration
Decide what kind of track design fits your vision and goals. Do you want a simple oval that runs continuously, a figure-eight that adds more variety, or a point-to-point layout that simulates real-world train operations? Each configuration requires different amounts and types of tracks, so consider how much operational complexity you want.
Plan for Curves and Turnouts
Curves and turnouts (also called switches) are key features of any track plan, but they require careful planning. Curves come in different radii, so you’ll need to select ones that fit your available space while accommodating the size of your trains.
For example, larger trains will need wider curves to avoid derailing. Turnouts allow for sidings and alternate routes, but they take up a significant footprint. Be sure to balance the placement of curves and turnouts to maintain smooth operation and realistic proportions.
Add Straight and Flexible Track Sections
Straight track sections are the backbone of any layout, filling in gaps and creating mainlines, while flexible track allows for custom designs and flowing, non-standard layouts. You can bend and shape flexible tracks to fit your specific needs, making it ideal for creating unique curves or filling odd spaces. However, it requires some skill and tools to cut and shape properly, so plan ahead if you’re using it.
Balance Mainlines and Sidings
Mainlines are the primary paths your trains follow, serving as the core of your layout. However, including sidings for switching operations or parking trains adds depth and functionality. You can also use sidings for loading and unloading cargo or setting up realistic operational scenarios. Make sure to leave enough space for sidings so that they don’t overcrowd the layout, and consider how they integrate with your mainline to keep train movements smooth and logical.
Include Yards and Stations
To add operational diversity and realism, consider planning for rail yards or stations. Yards allow you to store and organize trains, while stations provide stopping points and create opportunities for passenger operations. Each of these features requires additional track lengths and careful placement to fit into your layout. Think about how these elements will enhance the overall experience and how much space you can dedicate to them without compromising other parts of the design.
Think About Future Expansion
When planning your layout, leave room for future additions. Even if your current design is relatively simple, you may want to expand or add new features later on. Buying a little extra track upfront can make future modifications easier and eliminate the need to hunt for matching pieces later. Consider modular designs that allow you to add or remove sections of the layout without disrupting everything else.
Measure Your Grades
If your layout includes elevation changes like hills, bridges, or inclines, take the time to calculate grades carefully. A grade that is too steep can cause your trains to struggle or derail. A safe grade is typically around 2% (a 2-inch rise over 100 inches). Make sure to account for the extra track needed to accommodate these gradual elevation changes and ensure smooth transitions at the top and bottom of the grade.
Focus on Scenic Elements
Incorporate scenic elements like tunnels, bridges, rivers, or mountains into your track plan. These features add visual interest and realism but may require specific track configurations or extra lengths to work properly. For example, a bridge might need a long, straight section of track, while a tunnel requires smooth entry and exit points. Plan ahead to make sure your scenery and track work together seamlessly.
Work With Standard Track Lengths
Most track manufacturers offer standard lengths and pieces, which can simplify your planning and reduce guesswork. Familiarize yourself with the available options for straight, curved, and turnout tracks from your chosen brand. Using standard lengths can also make it easier to adjust or expand your layout in the future.
Plan for Track Power Connections
To keep your trains running smoothly, ensure you have enough track sections with power connectivity. Depending on the size of your layout, you may need additional power feeds to prevent voltage drops, especially in larger or more complex designs. Factor these into your overall plan so you don’t run into connectivity issues later.
Account for Mistakes or Adjustments
When purchasing track, always buy a little extra to account for miscalculations, mistakes, or adjustments during construction. Having spare track on hand also allows you to experiment with new ideas or make changes to your layout as you build.
Test Before Finalizing
Before securing your track permanently, lay it out temporarily to ensure everything fits together as planned. Check for gaps, uneven connections, or irregularities that could disrupt operations. This testing phase allows you to make adjustments before committing to the final design, saving time and frustration later.
Building your model railroad layout is both an artistic endeavor and a technical challenge, and getting the right amount of track is key to its success. By following these tips, you’ll create a layout that matches your vision and operates smoothly. With careful planning and a touch of creativity, along with the help of Only Trains and our , you’re on your path to enjoying a stunning and functional model railroad setup!