Your Cart (0)

Installing Lighting and Sound Effects in G-Scale Trains

Learn how to install sound and lighting in your G-scale trains. We cover tools, speakers, wiring, and more to help you bring your garden railroad to life.
by Theodore Hust • January 07, 2026
We all remember the first time a model train captured our imagination. Perhaps it was the rhythmic click-clack of the wheels against the rails or the visual spectacle of a locomotive weaving through a garden landscape. But for many of us in the large-scale community, the hobby truly transforms when we introduce sensory elements. Adding realistic lighting and high-fidelity sound effects turns a beautiful static model into a living, breathing machine that demands attention.
Whether you run a modest circle around the Christmas tree or manage a sprawling garden empire, upgrading your G-scale locomotives with electronics is one of the most rewarding projects you can undertake. It brings a new layer of realism to your operations. Suddenly, your steam engine chuffs in sync with the driver’s speed, brakes squeal as you approach a station, and warm light spills from passenger windows during twilight runs. We love helping hobbyists take this step, and we want to ensure you have the information needed to tackle these installations with confidence.
Understanding the Appeal of Sensory Upgrades
You might wonder if the effort required to install electronics justifies the result. We believe the answer is a resounding yes. Sound decoders do more than just make noise; they simulate the physics of a real train. Modern decoders allow you to hear the coal shoveling, the air pumps compressing, and the distinct whistle sequences.
Lighting plays an equally important role. It adds character and functionality. Directional headlights that switch automatically when you reverse the locomotive help you operate more effectively in low light. Firebox flicker effects in a steam engine cab create a cozy, realistic atmosphere that static paint simply cannot achieve. These upgrades make your layout feel like a miniature world rather than just a display.
Gathering the Tools for Installation
Before you open up your expensive locomotive, you must have the right equipment on your workbench. Proper tools prevent damage to delicate components and ensure a professional finish. You do not need an engineering lab, but a few key items will make the process much smoother.
- Soldering station: A variable temperature soldering iron ensures you do not overheat delicate circuit boards.
- High-quality solder: Use rosin-core solder designed for electronics.
- Wire strippers: Precision strippers prevent you from cutting through the copper strands.
- Heat shrink tubing: This insulates your connections and looks much neater than electrical tape.
- Small screwdrivers: A set of precision Phillips and flathead drivers is essential for G-scale screws.
- Multimeter: This tool helps you check for continuity and verify track voltage.
Choosing Between Analog and Digital Sound Systems
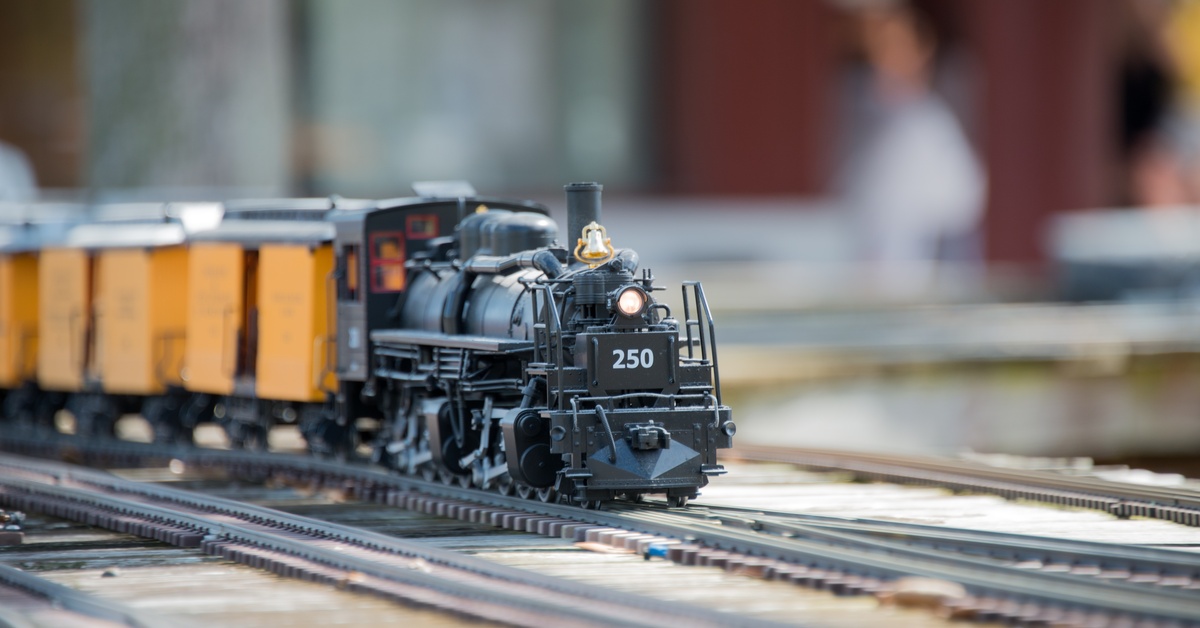
The type of control system you use dictates which sound unit you need. If you run a traditional analog (DC) layout, you need a sound system that triggers effects based on voltage changes or track magnets. These systems detect the voltage increase as you throttle up and adjust the chuff rate or diesel engine RPM accordingly.
For those using Digital Command Control (DCC), the options expand significantly. A DCC sound decoder allows you to trigger specific sounds at the push of a button. You can ring the bell, blow the horn, or trigger a station announcement on command. Many modern sound units from brands like Massoth or ESU offer dual-mode capability, meaning they work on both DC and DCC layouts, offering flexibility if you decide to upgrade your control system later.
Preparing the Locomotive for Electronic Upgrades
Patience serves as your best friend during the disassembly phase. Manufacturers assemble G-scale trains robustly, but plastic clips and hidden screws can still break if you force them. Consult the exploded view diagram included with your locomotive to locate all attachment points.
Once you remove the body shell, take a moment to plan your layout. Identify where the new circuit board will sit and ensure it has adequate ventilation. Electronics generate heat, and a trapped decoder can overheat and fail. You also need to identify existing wiring. Most G-scale manufacturers use standardized color codes, but verifying connections with your multimeter prevents costly short circuits.
Connecting the Power Pickups Correctly
Your new electronics need a reliable power source. Most G-scale locomotives pick up power from the track via carbon brushes pressing against the wheels or sliding shoes that contact the rails. Over time, dirt and grime build up on these contact points, causing intermittent power loss.
Clean all contact points thoroughly before soldering your new decoder wires. We recommend soldering the power input wires directly to the pickup tabs rather than relying on push-fit connectors, which can loosen due to vibration. A solid electrical connection ensures your sound doesn't stutter and your lights don't flicker as the train moves over switches or uneven track sections.
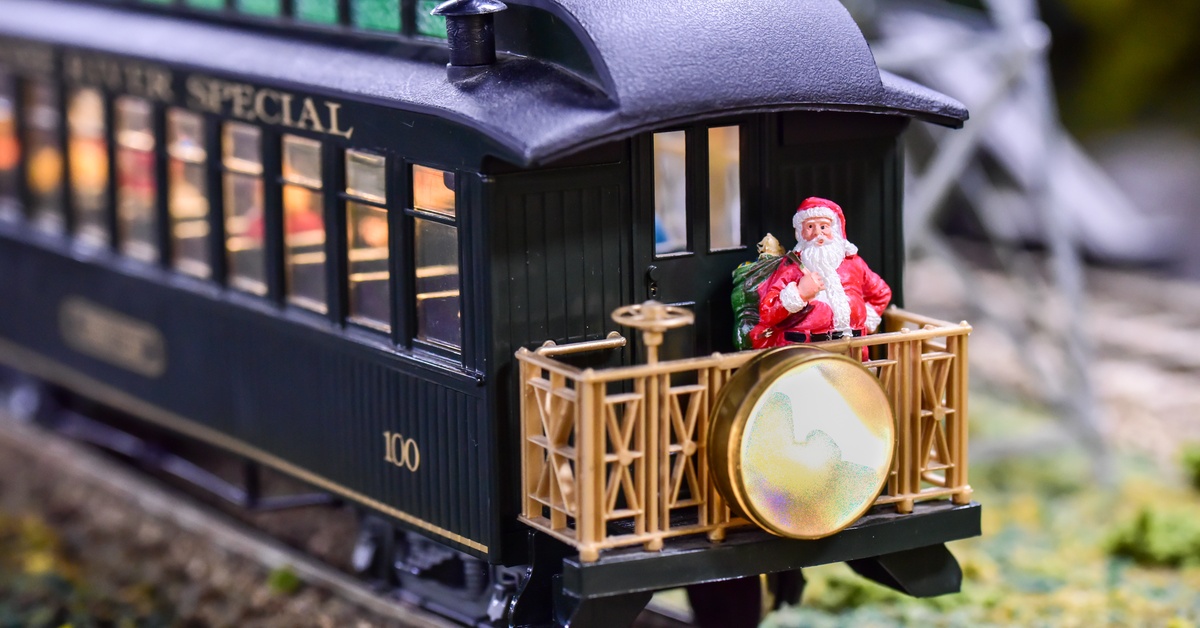
Illuminating Passenger Coaches and Interiors
Nothing looks quite as magical as a illuminated passenger train winding through the garden at dusk. You can easily install lighting kits in your G-gauge train cars to simulate a night run. While locomotives draw power from the motor block, passenger cars often require you to install metal wheels with power pickups.
Managing Wire Routing and Concealment
A neat installation ensures long-term reliability. A "rat's nest" of loose wires interferes with the drive mechanism or gets pinched when you reassemble the body shell. We recommend using small cable ties or Kapton tape to bundle wires together and secure them to the chassis.
Route wires away from moving parts like drive shafts and flywheels. Make sure that no bare wire touches the metal chassis or motor housing, as this causes immediate short circuits. Taking time to dress the wires properly makes future maintenance much easier and protects your investment.
Testing the System Before Final Assembly
Resist the urge to screw everything back together immediately. Place the chassis on the track or a set of test rollers to verify everything works. Listen for the startup sequence. Test the motor control to ensure the wheels spin in the correct direction relative to the lights.
If something does not work, it is much easier to troubleshoot now than after you have reassembled the entire locomotive. Check your solder joints and verify that no wires got crossed. Once you confirm that the sound is crisp, the lights function correctly, and the motor runs smoothly, you can finish the assembly.
Wrapping Everything Up
Installing custom sound and lighting transforms the model railroading experience from visual to visceral. It allows you to engage with your collection in a new way, bringing a spark of life to the miniature world you have created. While the process involves some learning and patience, the reward of hearing that whistle blow for the first time creates a feeling of pure joy. We hope you feel inspired to take your layout to the next level.